
Candy Bar
A bar for everyone, and any theme
You cannot go wrong with candy! Sure, it’s usually just for kids’ parties while adults are stuck with Jordan Almonds, but here is a way to give all your guests what they really want, the-good-stuff!
Candy bars (or candy buffets) have recently become more popular at parties. One of the great perks is the huge variety of candy available. You can easily match your candy bar to your color themes. I built one for my sister’s wedding shower, and let me just say, it was a BIG hit!
The first step to a candy bar is to start buying jars to fill with candy. There are tons of shapes and sizes. Glass always looks beautiful, but they are also more costly, so don’t be afraid to go with plastic. Also, when you’re buying jars, think of places you may not usually go. Thrift stores are great places to look for these jars. That’s where I found most of mine.
Since the wedding shower that I planned was less conventional (adults and kids were there), I decided to go with a more “playful” theme and color scheme. However, simply switch out the candy and change the awning colors and you’ve got a completely new theme. Now, I’m not going to lie, they can be a little bit of work, but with the right planning, you can do this too!

Building the Frame:
The awning frame is the hardest part. However, it is not at all necessary. Candy bars can be just as lovely without them. If you aren’t a “builder” and don’t have the tools, don’t stress about this part. Or, you can always ask a friend or family member to help you build it.
Tools:
5 wood planks (studs); 1.5 x 2.5 in., 96 in.
14 wood screws; flat head, coarse thread, at least 3.5 in. long
electric drill and drill bits
white paint (or desired color)
dry wall spackle
sandpaper
Directions:
1. Before you leave the hardware store (Home Depot), have them cut your lumber. You can do this yourself if you have the tools, but it’s easier to have it done at the store. These are the measurements: (2) 38 in., (2) 33 in., (2) 25 in., (2) 28 in., (3) 64 in. In total, you should have 11 pieces of lumber.
2. Once you have your cut lumber, begin drilling the holes for the screws. Be precise and accurate or your frame may be crooked. Remember: measure twice, cut once (or in this case, drill once).
3. Follow these pictures to assemble the frame.


4. Your final frame should look like this.

5. Once the frame is assembled, cover the screws with drywall spackle and sand down any rough patches.
6. Finally, paint the frame your desired color.
Awning:
Not quite done yet. You have to make the awning now! There are many ways to do this part – use one color, two colors, a pattered fabric, or just buy a pre-made awning (although these can be expensive).
Tools:
2 yards red material
2 yards white material
ruler
white thread
sewing machine
fusible tape (Jo-ann’s)
Directions:
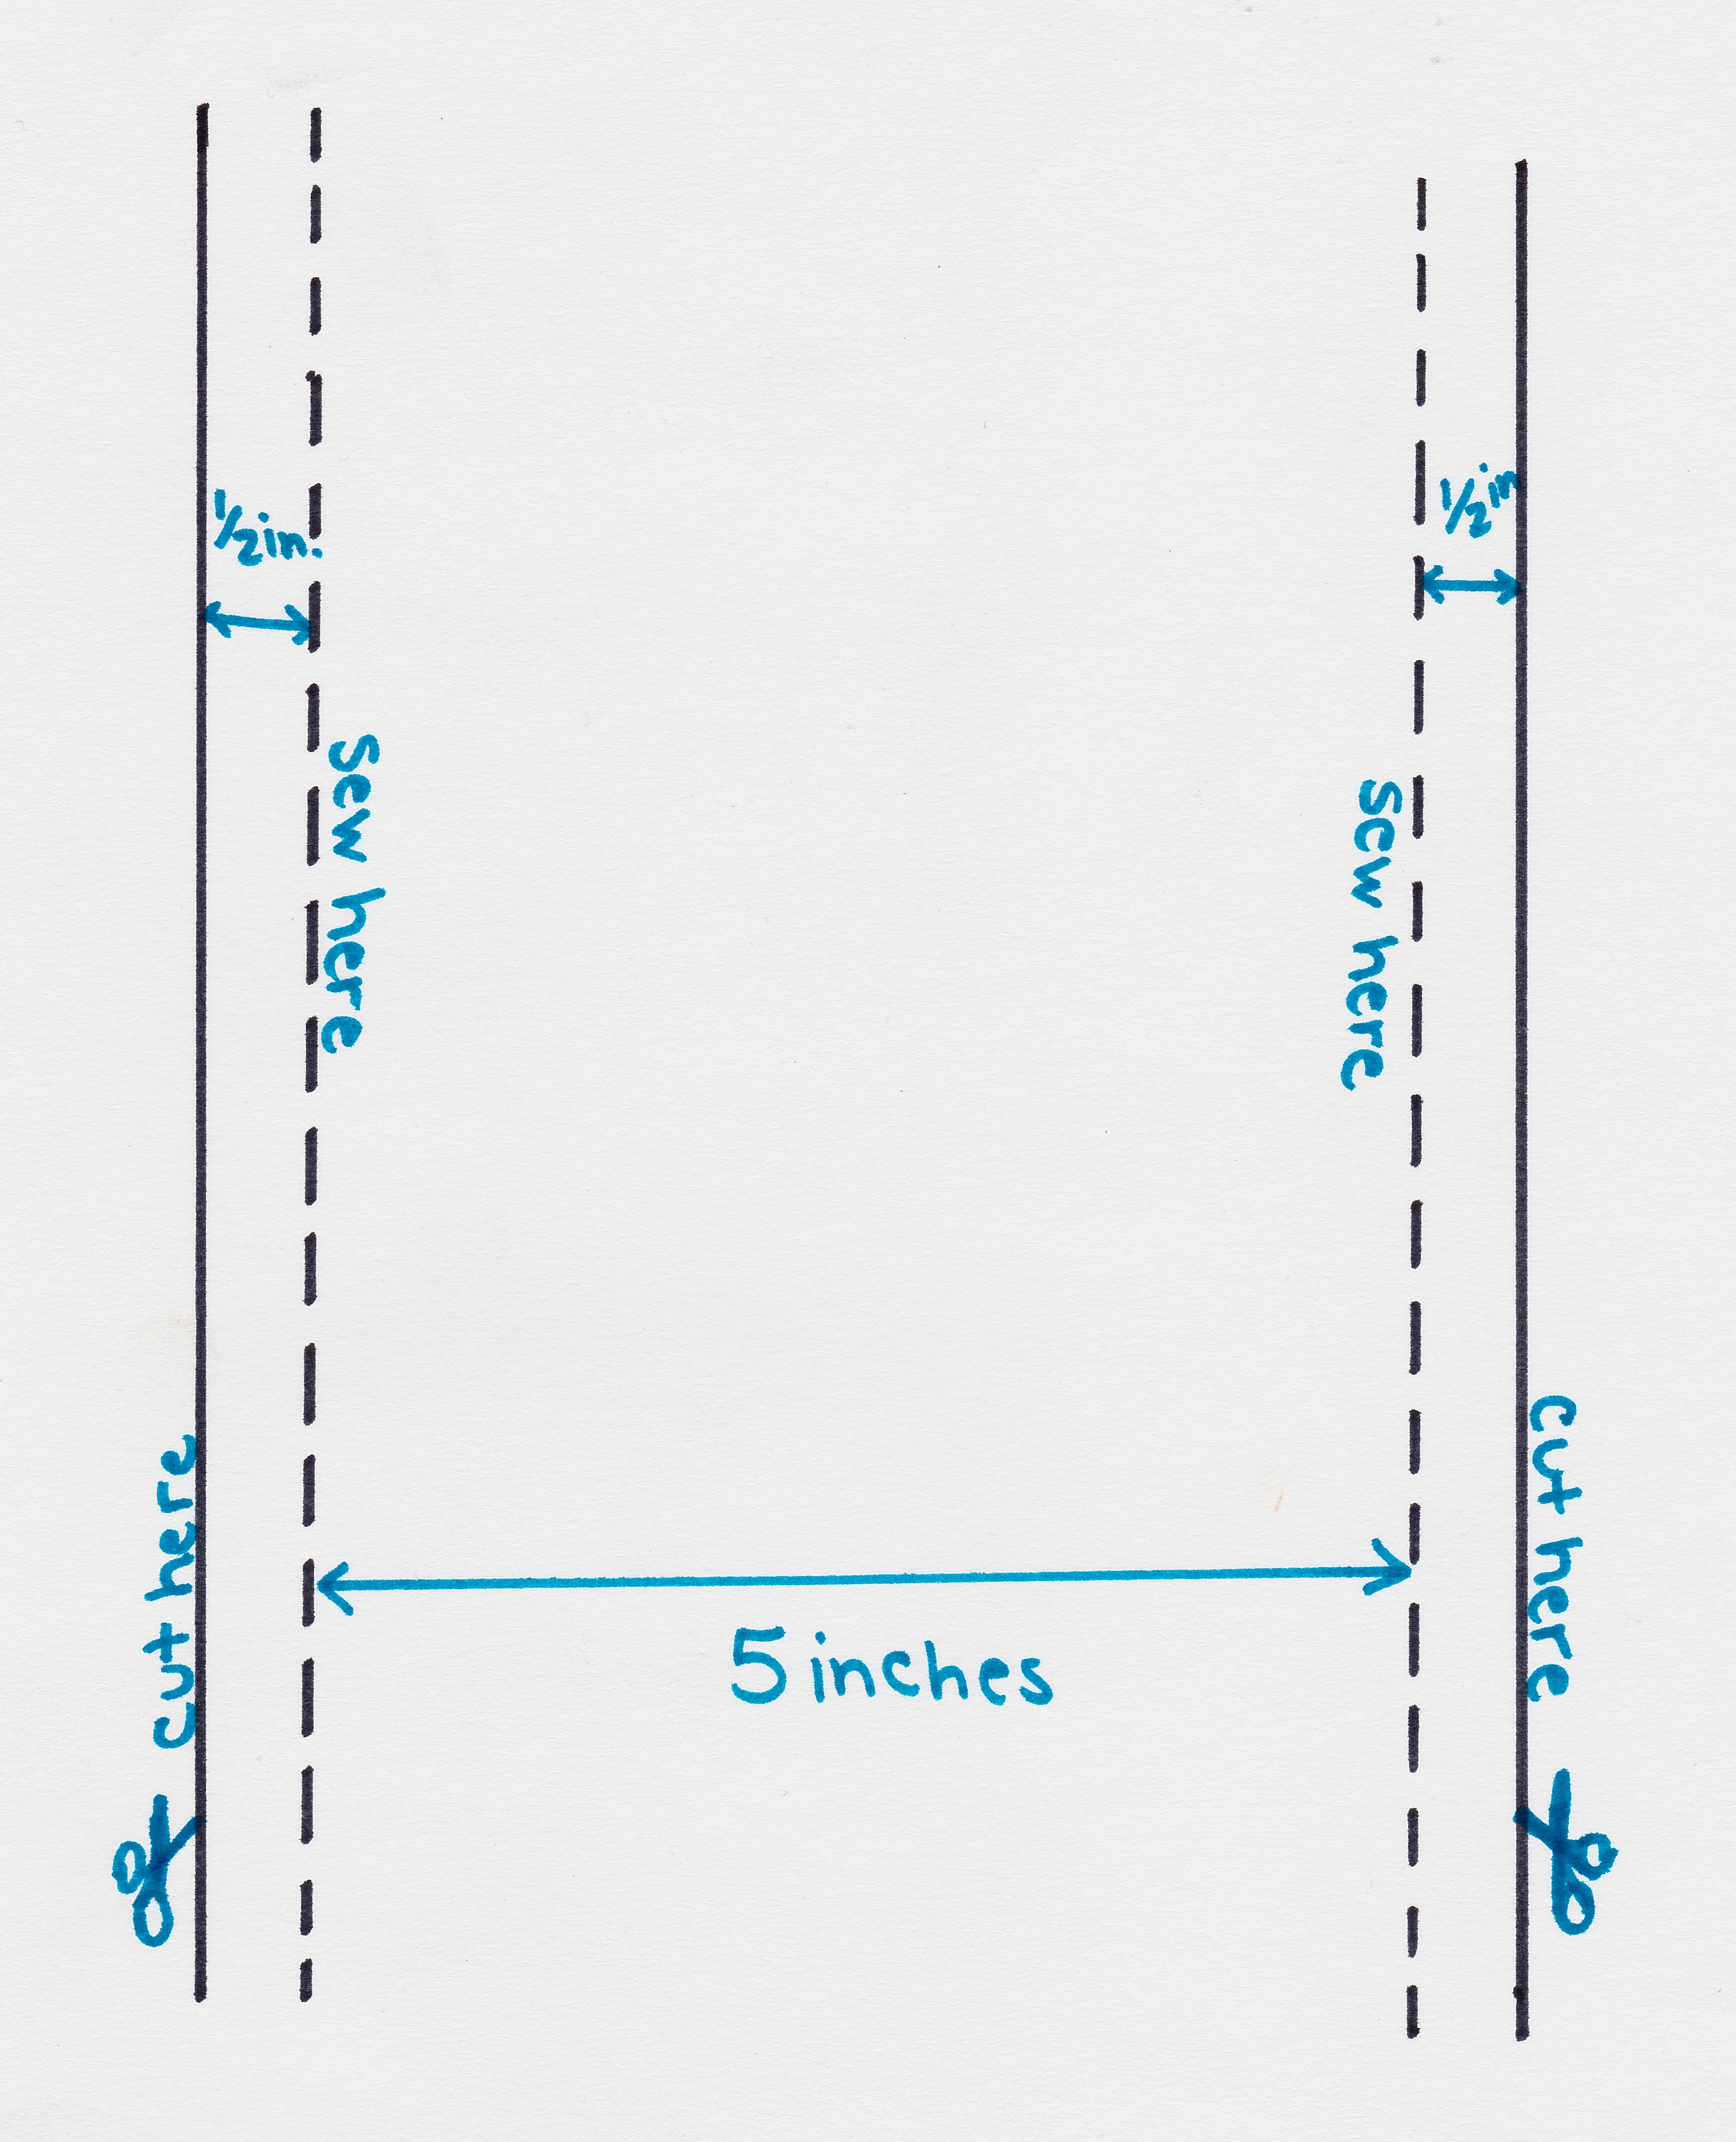
1. Lay out your material and cut 7 strips of red material – 6 inches wide x 35 inches long
2. Do the same thing with your white material.
3. Sew the strips together, lengthwise, alternating colors (ie. red, white, red, white). Only sew 1/2 inch on each end so the finished side of the awning will have 5 inch wide strips. Leave 3 inches at the end, un-sewn. This will be the beveled edge.
4. An easy way to bevel the edges is to use fusible tape. On each strip, turn in the corners about 1/3 of the way in on each side – glue them down. Then fold up the bottom about 1/3 of the way up – glue it down. Do this to each strip and your awning is beveled. This picture should give you an idea of how it should look on the back.

5. Iron it flat and attach to your frame using a staple gun, Velcro, or adhesive tape (be sure it can stick to fabric and wood).
The FUN part
Now that you have the hard part done, you can start setting it up! One useful tip is adding risers. These can be anything from boxes to dictionaries. Place them under the tablecloth and adjust. These risers give levels to your candy bar, and it allows easier access to the candy as well, especially if you have a lot of jars.
The final step is adding the candy and admiring all your hard work!

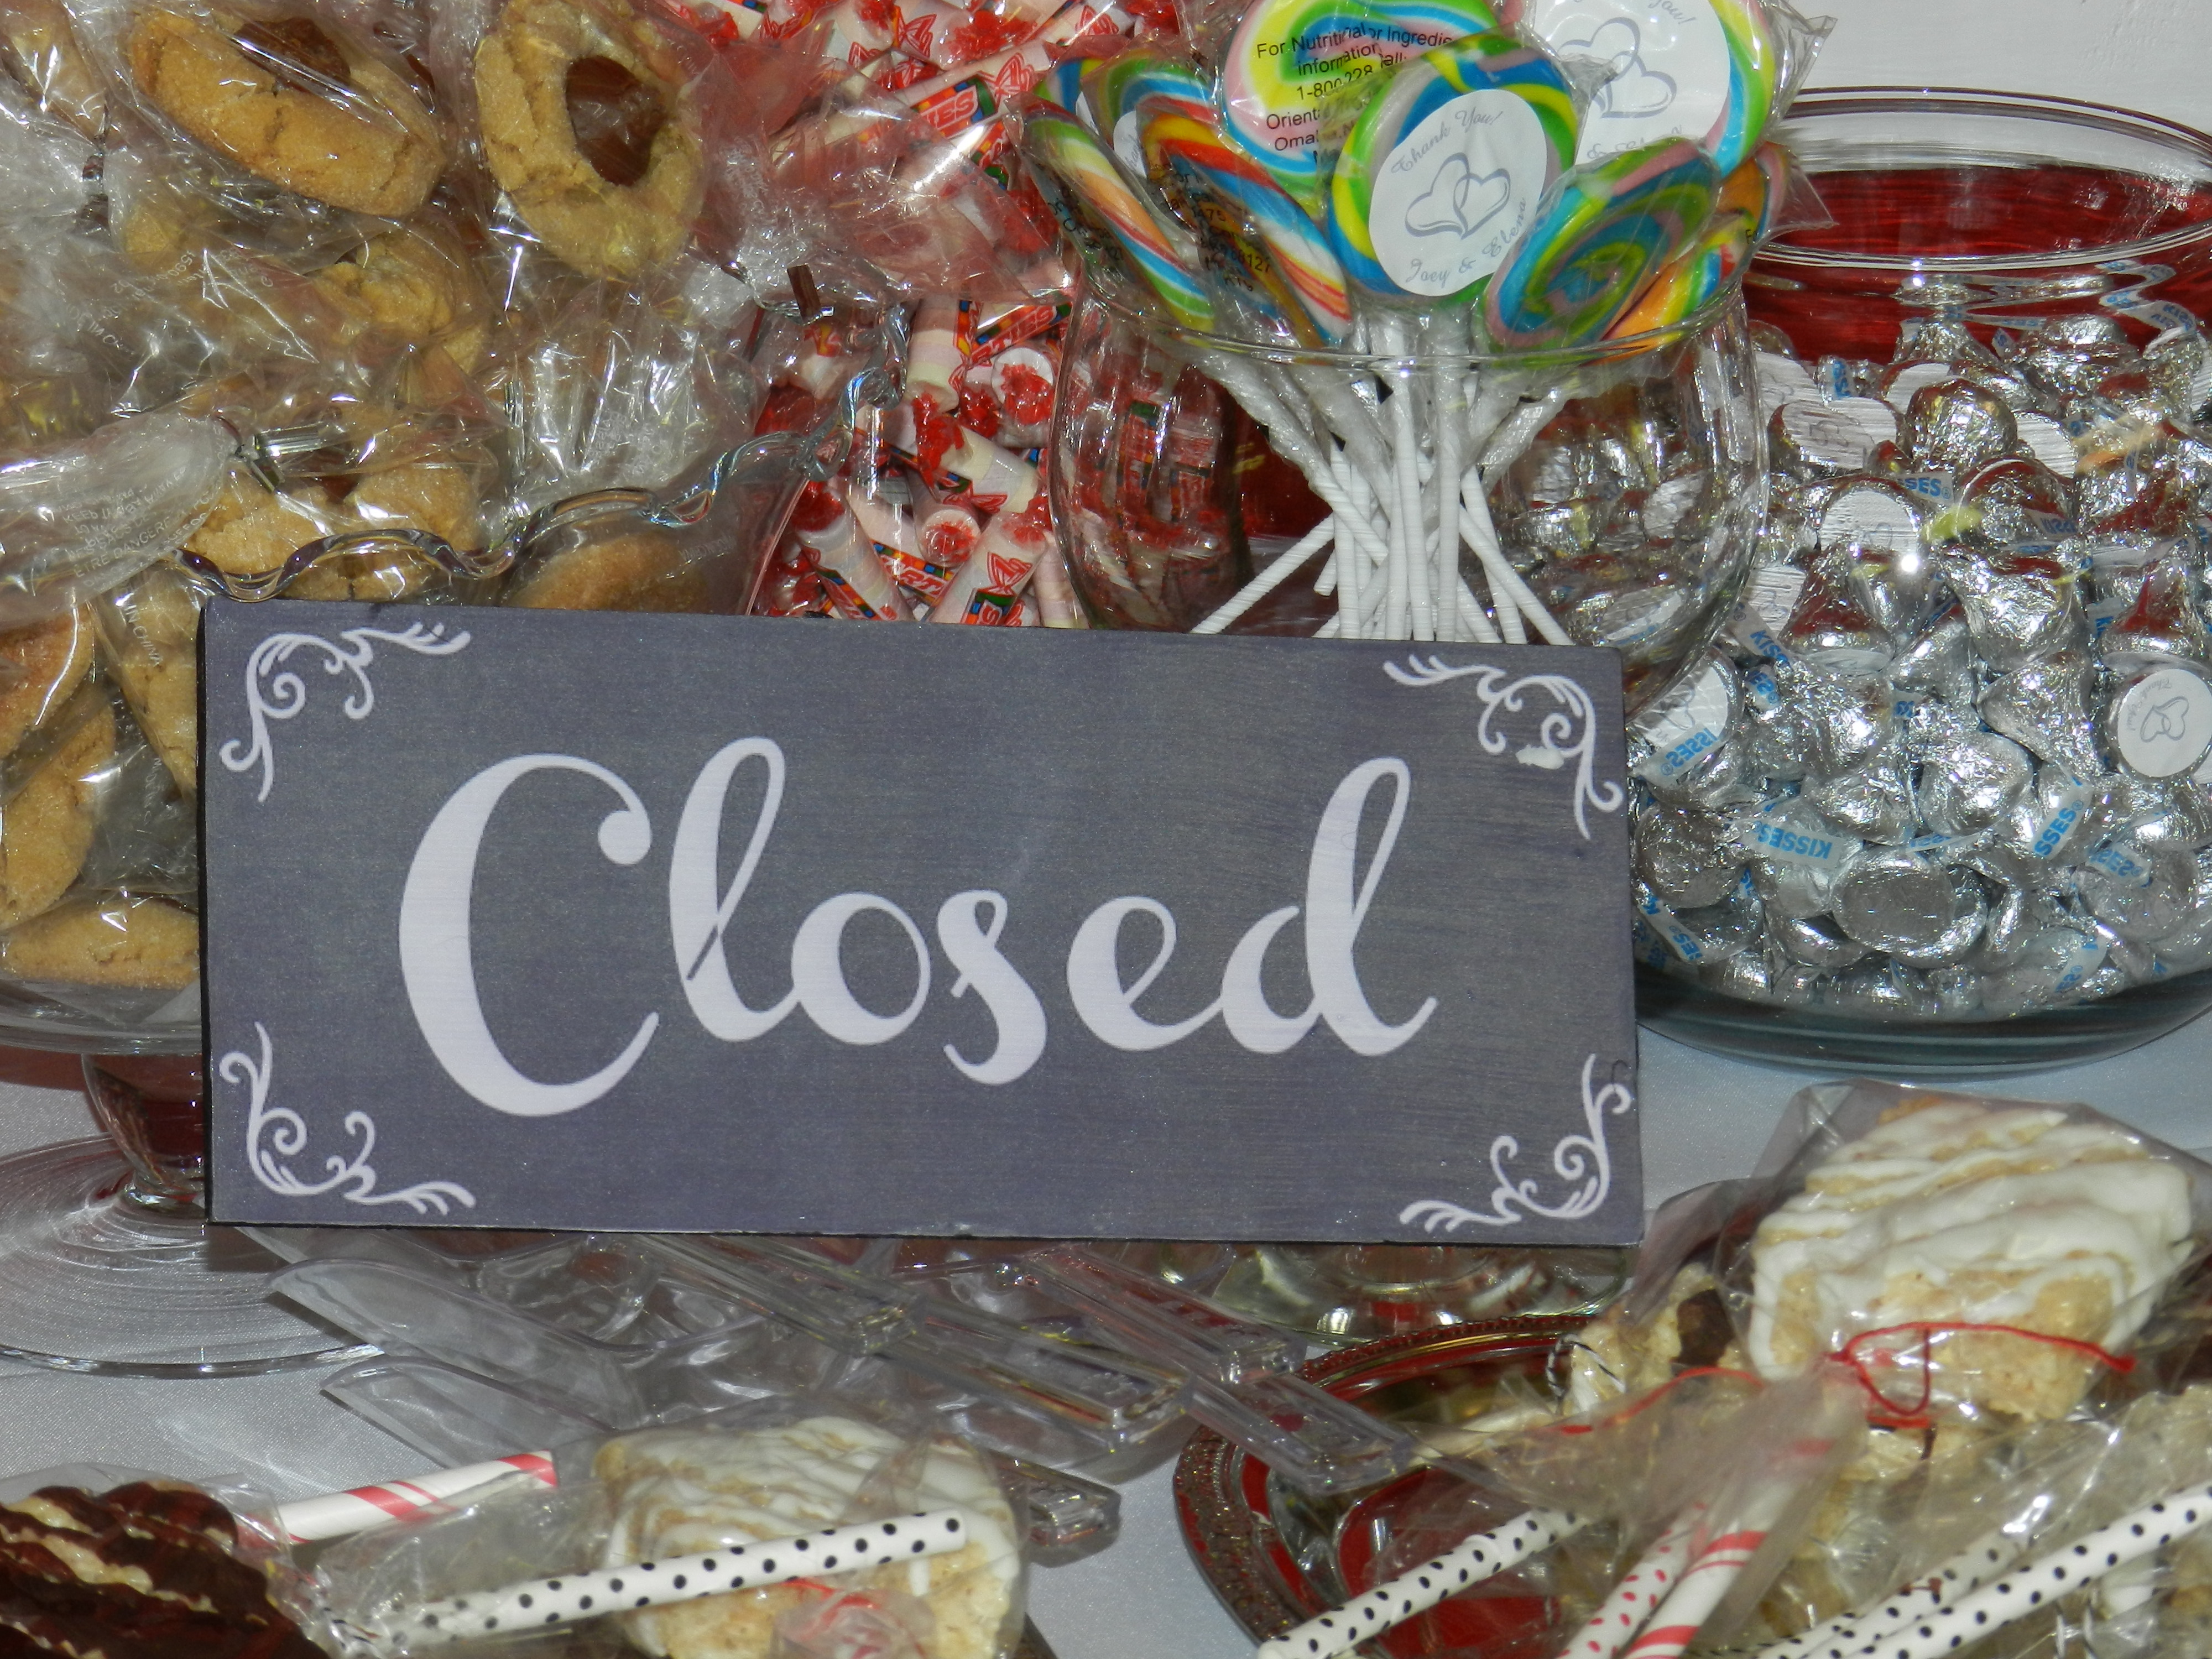
Note: When I set up this candy bar, I did not add risers due to a time constraint. However, as you can see, having levels would add even more appeal to this space.
Alternatives:
If you don’t want to do the awning, a great way to add some flair is setting the table up against a backdrop or a wall. If it is against a wall, you can add a classy, framed sign or hang some decorations.

More Fun:
Check out these great blogs that go step by step into planning a candy buffet!
http://blog.hwtm.com/2013/10/how-to-set-up-a-candy-buffet-step-by-step-instructions/ (She offers some really great advice on setting up a candy buffet. However, as a warning, the example used is beautiful, but incredibly expensive. There is no need to spend over $1000 on a candy buffet.)
http://seshalynspartyideas.com/how-to-set-up-your-own-candy-buffet/ (She has some great links to online candy stores!)
As usual, please leave comments below! Let me know how your candy buffet comes out! Also, if you have any questions about this post, or any others, feel free to send me a message.
